For product visualization
Studio Lighting for 3D Product Shots: Softboxes, Flags and Reflectors

Short answer: studio lighting for a 3D product shot is built the way a photographer builds it: one large soft key light such as a softbox or octabox to shape the product, a narrow strip light or tube behind it to draw the edges, and passive tools around it: a reflector or white board to lift the shadows, and black flags to cut spill and deepen contrast. Size and distance of each source decide how soft the light is.
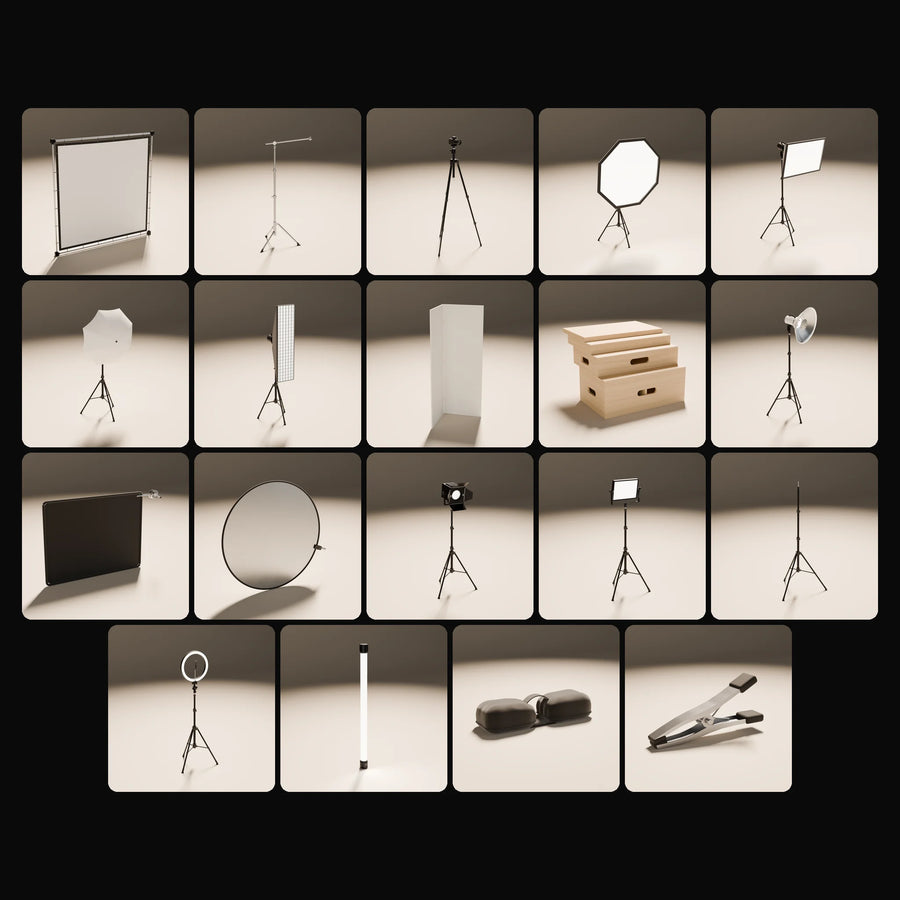
Search for product rendering lighting and you mostly find video tutorials and render-service pages that list rules without showing the gear behind them. This guide works from the physical studio kit instead: what each light modifier and grip tool does, its real size, and how to set the matching light in Blender. Every size and triangle count below is read from the live product pages of our Studio Lighting & Grip Kit in October 2026, and the Blender settings come from the official Blender manual pages on light objects and Cycles light settings.

The jobs light does in a product shot
Before choosing gear, decide which job each light has. Most product setups combine four of them:
- Key. The main light that shapes the product and sets the direction of the shadow. For most products it is large and soft.
- Edge or rim. A light behind or beside the product that draws a bright line along its silhouette, separating it from the backdrop. Glass, metal and dark products depend on it.
- Fill. A weaker light or a bounce that opens the shadow side so detail stays visible.
- Control. Flags, scrims and boards that do not emit at all: they block, soften or bounce light from the other sources.
Reflective products add one more rule: on a glossy surface you see the lights themselves. A bottle or a watch case reflects the shape of the softbox, so the outline of the modifier becomes part of the product's design. That is why the shape of each light matters as much as its brightness.
Soft light sources: softboxes, octaboxes and umbrellas
A soft source is a large emitting surface close to the product. The Blender manual states the principle directly: lights with a larger size have softer shadows and specular highlights. In practice that means the key light is usually a softbox or octabox placed near the product, not a small bright point far away.
The table lists the soft and frontal sources in the kit with their delivered size and both geometry profiles: Studio for close-up offline renders and Realtime for web and interactive scenes. Each of these product pages states that the Blender files include a light placed at its emitter, so the modifier can light the scene as well as appear in it.
| Source | Typical job | Size (W x D x H, m) | Studio triangles | Realtime triangles |
|---|---|---|---|---|
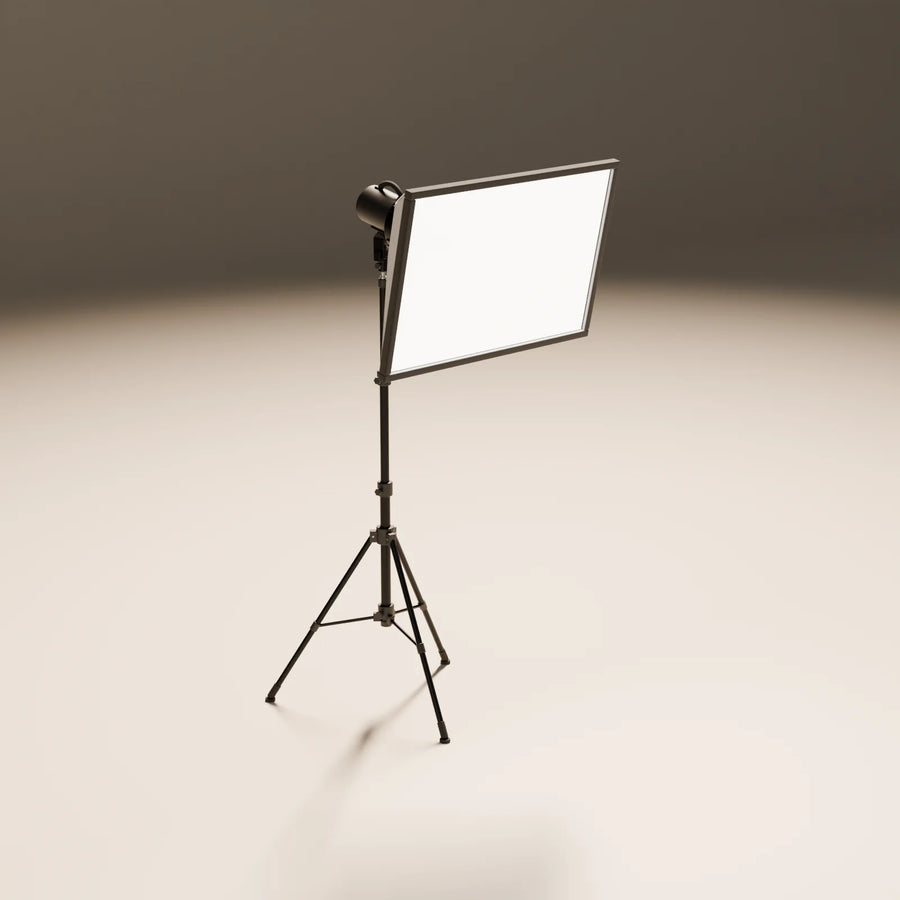
| Rectangular Softbox | Large soft key, long rectangular highlight | 0.95 x 0.93 x 1.89 | 26,576 | 9,384 |
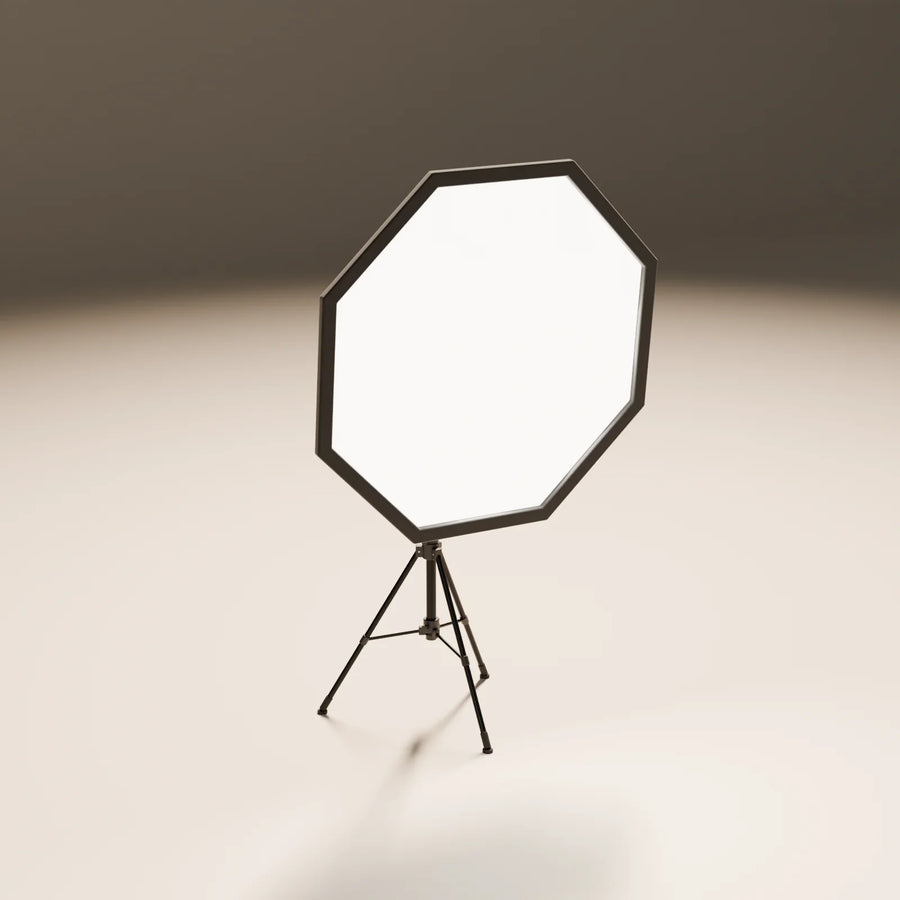
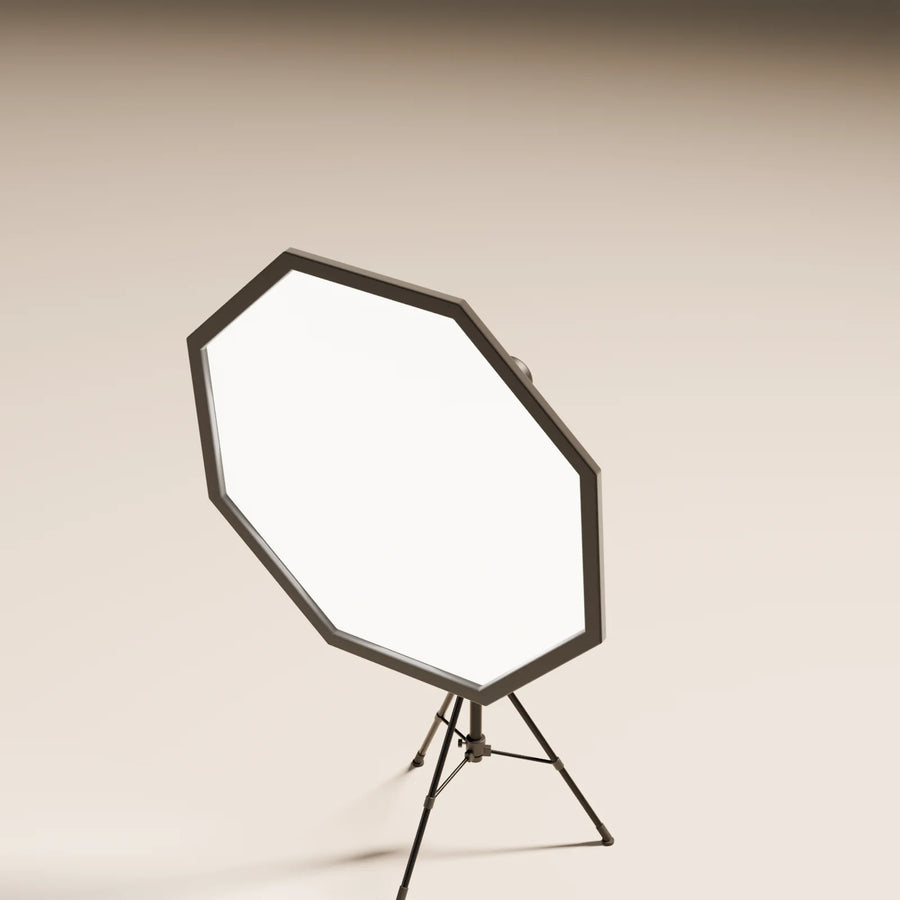
| Octabox | Round, even key and round catchlights | 1.22 x 0.68 x 1.98 | 35,172 | 11,996 |
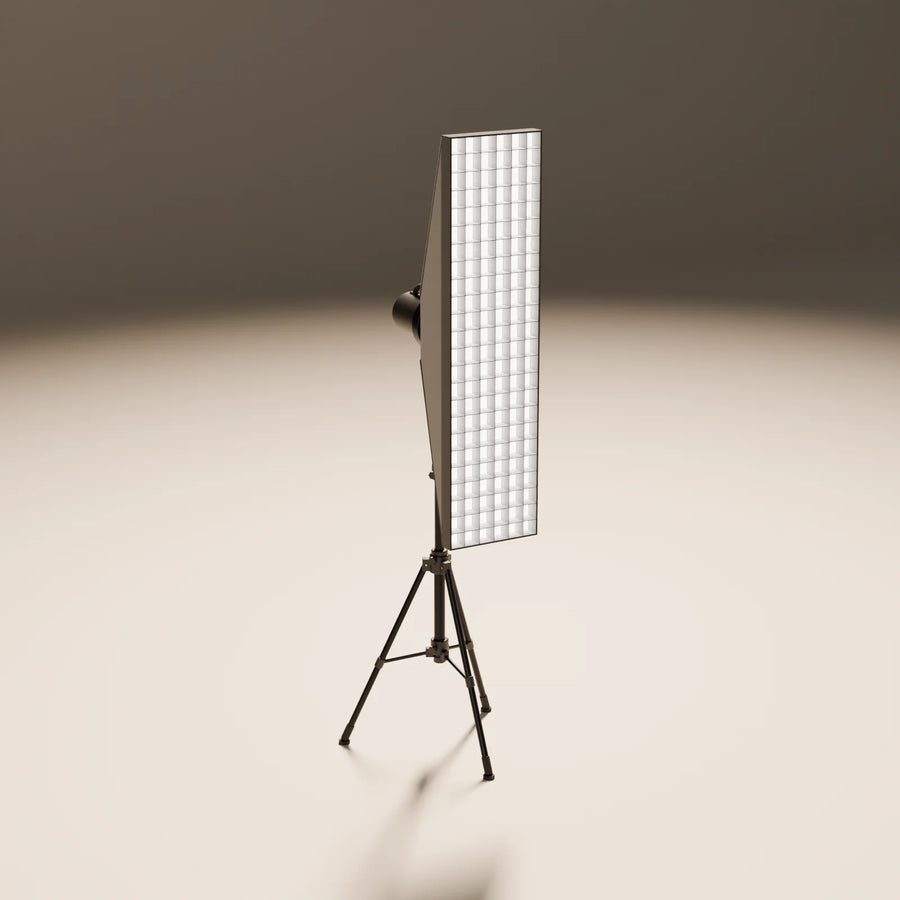
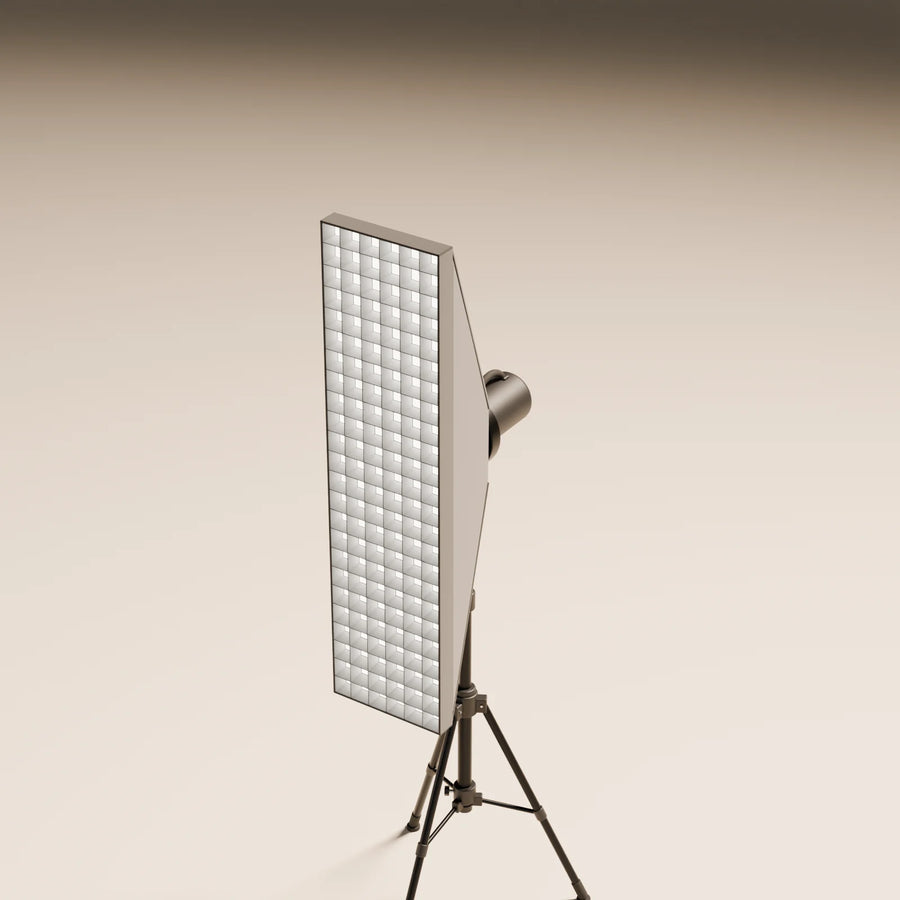
| Strip Softbox | Edge and rim light on tall products | 0.56 x 0.52 x 1.96 | 25,696 | 9,976 |
| Shoot-Through Umbrella | Broad fill that spreads across the set | 0.93 x 0.72 x 1.87 | 37,472 | 13,640 |
| Beauty Dish | Crisper light with defined falloff | 0.72 x 0.61 x 1.79 | 37,768 | 11,312 |
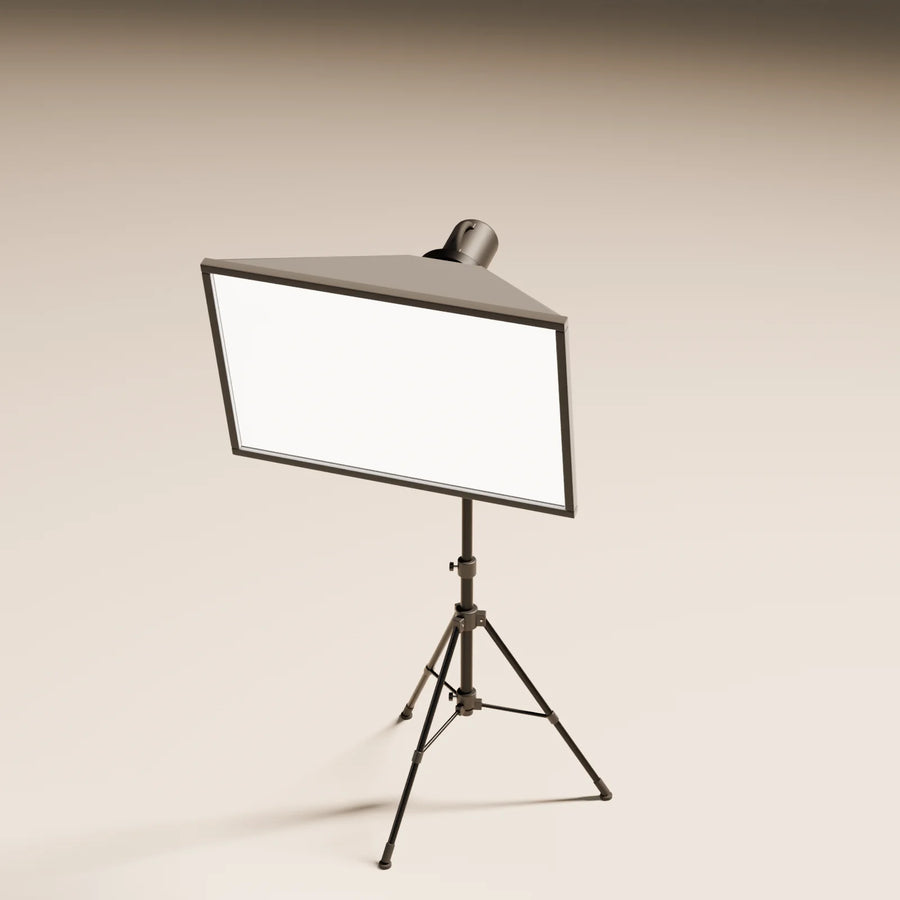
| LED Panel | Flat, even light from a slim source | 0.66 x 0.58 x 1.68 | 25,240 | 9,208 |
| Ring Light | Frontal light with ring catchlights | 0.66 x 0.58 x 1.80 | 35,044 | 10,244 |
Sizes include the stand, so the height is the full setup on the floor, not the diffuser alone. When you pick a key, think about the reflection you want: a rectangular softbox gives a long window-like highlight down a bottle, an octabox gives a rounder highlight, and a strip gives a thin line that follows the edge of a tall product.
Hard and accent light: Fresnel spots and LED tubes
Hard light comes from a small source and draws crisp shadows. It suits products where texture and form should read strongly, and it can paint a pool of light on a backdrop behind the product. The Fresnel Spotlight (0.70 x 0.69 x 1.70 m, 31,728 Studio and 11,840 Realtime triangles) is the classic tool: a lens and four barn doors that shape the beam.
Accent light is smaller still. The LED Tube Light is 0.60 m long and 0.04 m across (6,124 Studio and 1,692 Realtime triangles). It can stand in frame as a glowing element or sit out of shot as a thin rim light, and coloured tubes are a common way to add a single colour note to an otherwise neutral set. Both product pages state that the Blender files include a light placed at the emitter.
Shaping tools: flags, reflectors, scrims and V-flats
Shaping tools have no light of their own. They change what the other lights do, and in a path tracer they work the same way as on a real set: an object between a light and the product casts a shadow, and a bright surface near the product bounces light into it.
| Tool | What it does | Size (W x D x H, m) | Studio triangles | Realtime triangles |
|---|---|---|---|---|
| Black Flag | Cuts spill, darkens one side, adds black reflections | 0.72 x 0.06 x 0.46 | 6,676 | 1,924 |
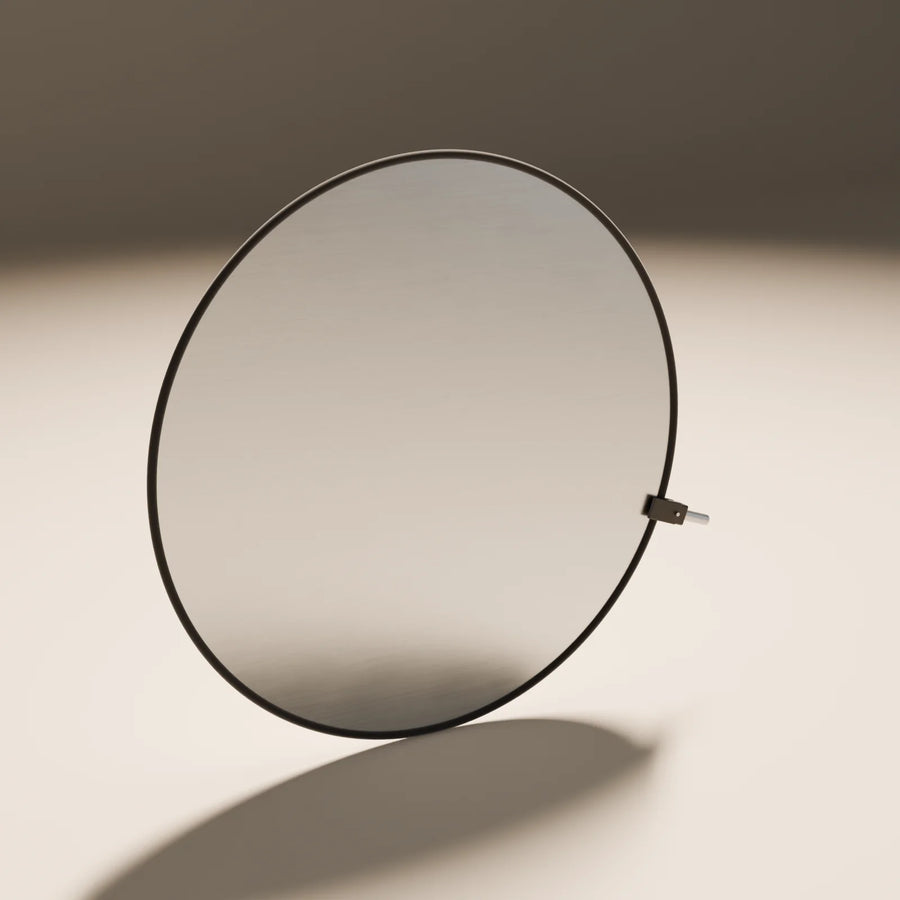
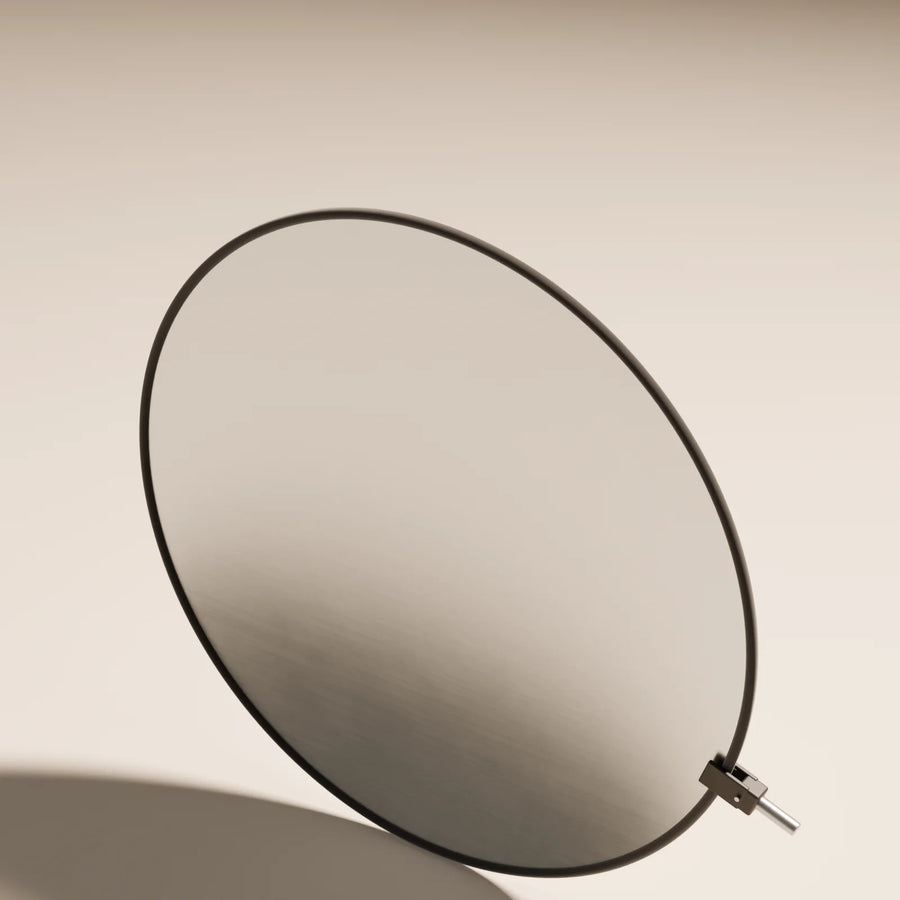
| Collapsible Reflector | Bounces fill into the shadow side | 0.85 x 0.03 x 0.79 | 9,080 | 2,408 |
| Butterfly Scrim | Diffuses sun or a hard light over the set | 1.80 x 0.06 x 1.80 | 23,936 | 11,840 |
| V-Flat | Large bounce or negative fill | 1.21 x 0.63 x 2.40 | 4,176 | 2,448 |
Black matters as much as white. A dark flag beside a glossy product puts a black stripe into its reflection, which defines the edges of glass and polished metal. A white V-flat on the shadow side does the opposite and lifts it gently without adding a second set of highlights. Holding these tools in place is the job of the C-Stand (1.87 m tall), with a sandbag on the leg and apple boxes to raise a product or a light.
Setting the lights in Blender
The light modifier models give the shape; the light object does the work. The Blender manual describes the settings that map onto real studio gear:
- Area light shape. Area lights come in Rectangle, Square, Disk and Ellipse shapes, sized with Size or Size X and Size Y. Match the shape to the face of the modifier: a rectangle for a softbox or strip, a disk as a close match for an octabox or ring.
- Size equals softness. A larger light gives softer shadows and highlights. With Normalize enabled (the default), total power stays the same when you change the size, so a bigger light looks dimmer per area rather than brighter overall.
- Spread. In the Cycles light settings, Spread controls how widely an area light fans out. Smaller values give sharper light and simulate a gridded softbox, which is what the grid face of a strip softbox does on a real set.
- Spot cone. A spot light has an Angle for the outer cone and a Blend value for the soft edge of the pool. Blend controls the edge of the beam, not the softness of the shadow; for softer shadows, increase the light's Radius.
- Exposure. The manual notes that physically scaled power values can look much brighter or dimmer than expected because a render engine does not adapt like the eye. Adjust exposure in the Film settings instead of pushing every light.
The product pages list the light as part of the Blender files. If you work from the GLB, FBX or OBJ files in another tool, plan to place your own light at the diffuser face and match its size to the modifier.
Starting points from ready-made scenes
If you would rather start from a lit set than from an empty one, the ready-made Still Studio scenes combine these tools with products, backdrops and podiums, and each scene ships with its own lights, cameras and product slots. Their asset lists, read from the live product pages, show which tools each look uses:
- White Infinity Studio: catalogue and e-commerce hero shots on seamless white, built with a Rectangular Softbox, an infinity cove and three podiums.
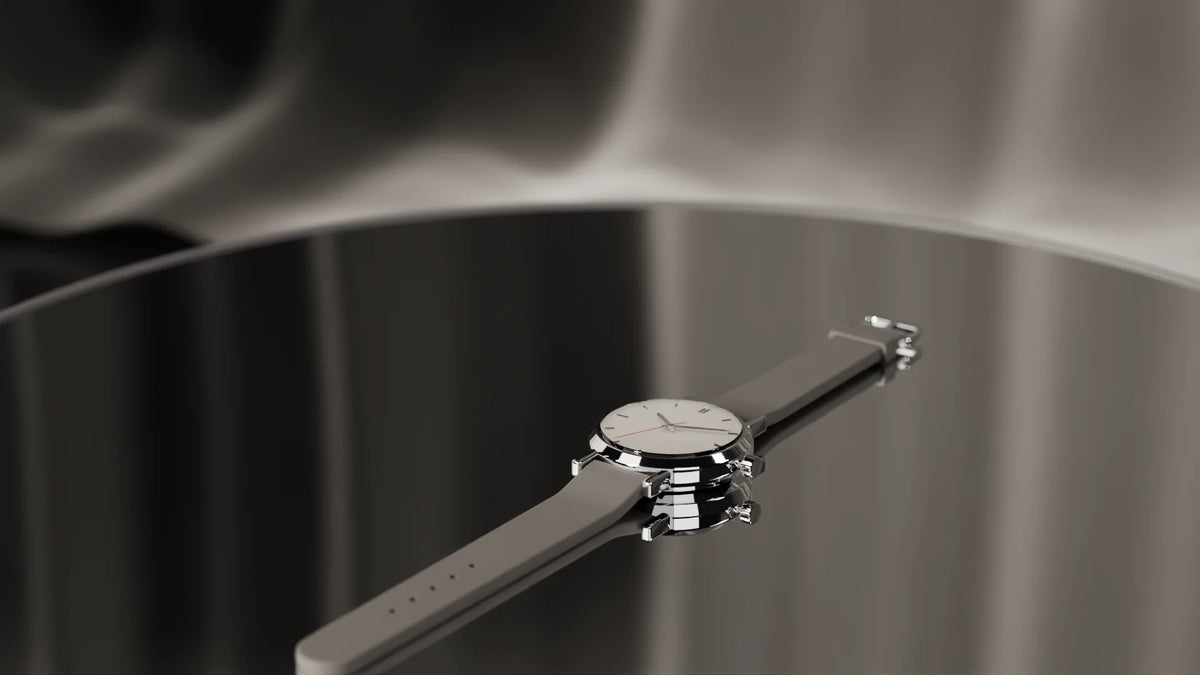
- Noir Luxe: low-key watches, jewelry and premium tech, with a Strip Softbox, a Black Flag, an LED Tube Light and mirror surfaces.
- Graphite Tech: electronics with hard edge light from an LED Panel and an LED Tube Light.
- Gallery Pedestals: one precious object under a Fresnel Spotlight, on a pedestal or in a vitrine.
- Behind the Scenes: a working photo studio with an Octabox, a Collapsible Reflector, a C-Stand, a sandbag, apple boxes and a camera on a tripod, for content that shows the gear itself.
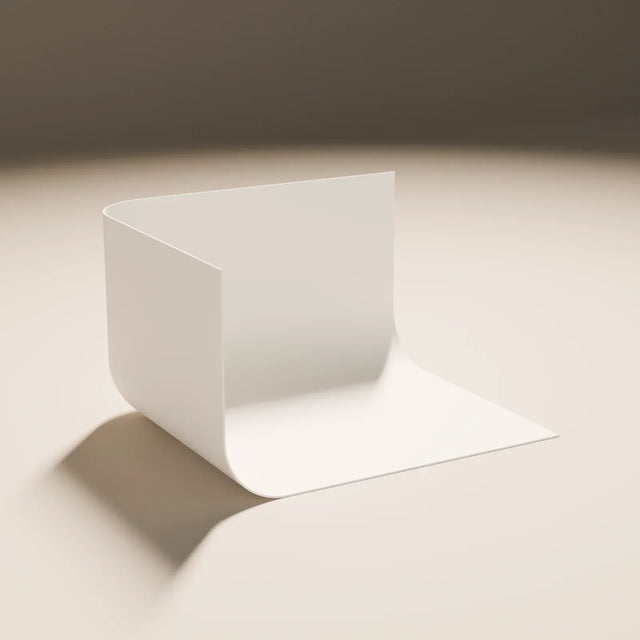
For the surface under and behind the product, our guide to backdrops and surfaces for product scenes covers coves and sweeps, and the guide to retail display fixtures covers shelves, rails and vitrines for showroom sets.
Checks before you render
- Look at the reflections. On glossy products, view the scene from the render camera and check that each highlight has the shape you intended. Move or resize a light before adding another one.
- One shadow direction. Two keys of similar strength give two shadows. Keep one key and let the others fill or rim.
- Edge separation. A dark product on a dark backdrop disappears without a rim. Add a strip or tube behind and to the side.
- Gear in frame only on purpose. Stands and modifiers in shot read as a behind-the-scenes look. If that is not the brief, keep them out of the camera view and let only their light reach the set.
- Real scale. Light falloff and softness depend on size and distance in real units. Keep the scene in meters and the gear at its delivered size.
All the gear ships in Studio and Realtime profiles as BLEND, GLB, FBX and OBJ files with PBR texture maps under the Premade3D Standard License, which covers commercial and client work. Browse it in the studio lighting and grip collection and pair it with the podiums and plinths collection.
Common questions
Which is better for product photography, a ring light or a softbox?
For most products a softbox. It is larger, can be moved to the side to shape the product, and gives a clean rectangular or round highlight. A ring light sits around the camera axis and lights the product flat from the front; it suits creator and beauty looks where a round catchlight is wanted.
Is a bigger softbox better?
A bigger source gives softer shadows and broader highlights, both on a real set and in Blender, where the manual notes that larger lights soften shadows and specular highlights. It is not always better: small or glossy products often look more defined with a narrower strip and a flag.
When should you use a softbox?
Use a softbox when you want soft, controlled light with a defined highlight shape, which covers most packaging, cosmetics and tech shots. Choose a hard source such as a Fresnel spot when you want crisp shadows or a pool of light on the backdrop.
Assets in this guide
Black Flag
Studio lighting and grip · Still Studio
€7,00
Fresnel Spotlight
Studio lighting and grip · Still Studio
€7,00
- Kit
Studio Lighting & Grip Kit
19 assets · Still Studio
€66,00
Includes 19 assets worth €164,00 separately
Octabox
Studio lighting and grip · Still Studio
€12,00
Collapsible Reflector
Studio lighting and grip · Still Studio
€7,00
- Scene
Noir Luxe: Scene
9 assets · Still Studio
€19,00
Includes 9 assets worth €69,00 separately
Rectangular Softbox
Studio lighting and grip · Still Studio
€12,00
Strip Softbox
Studio lighting and grip · Still Studio
€12,00